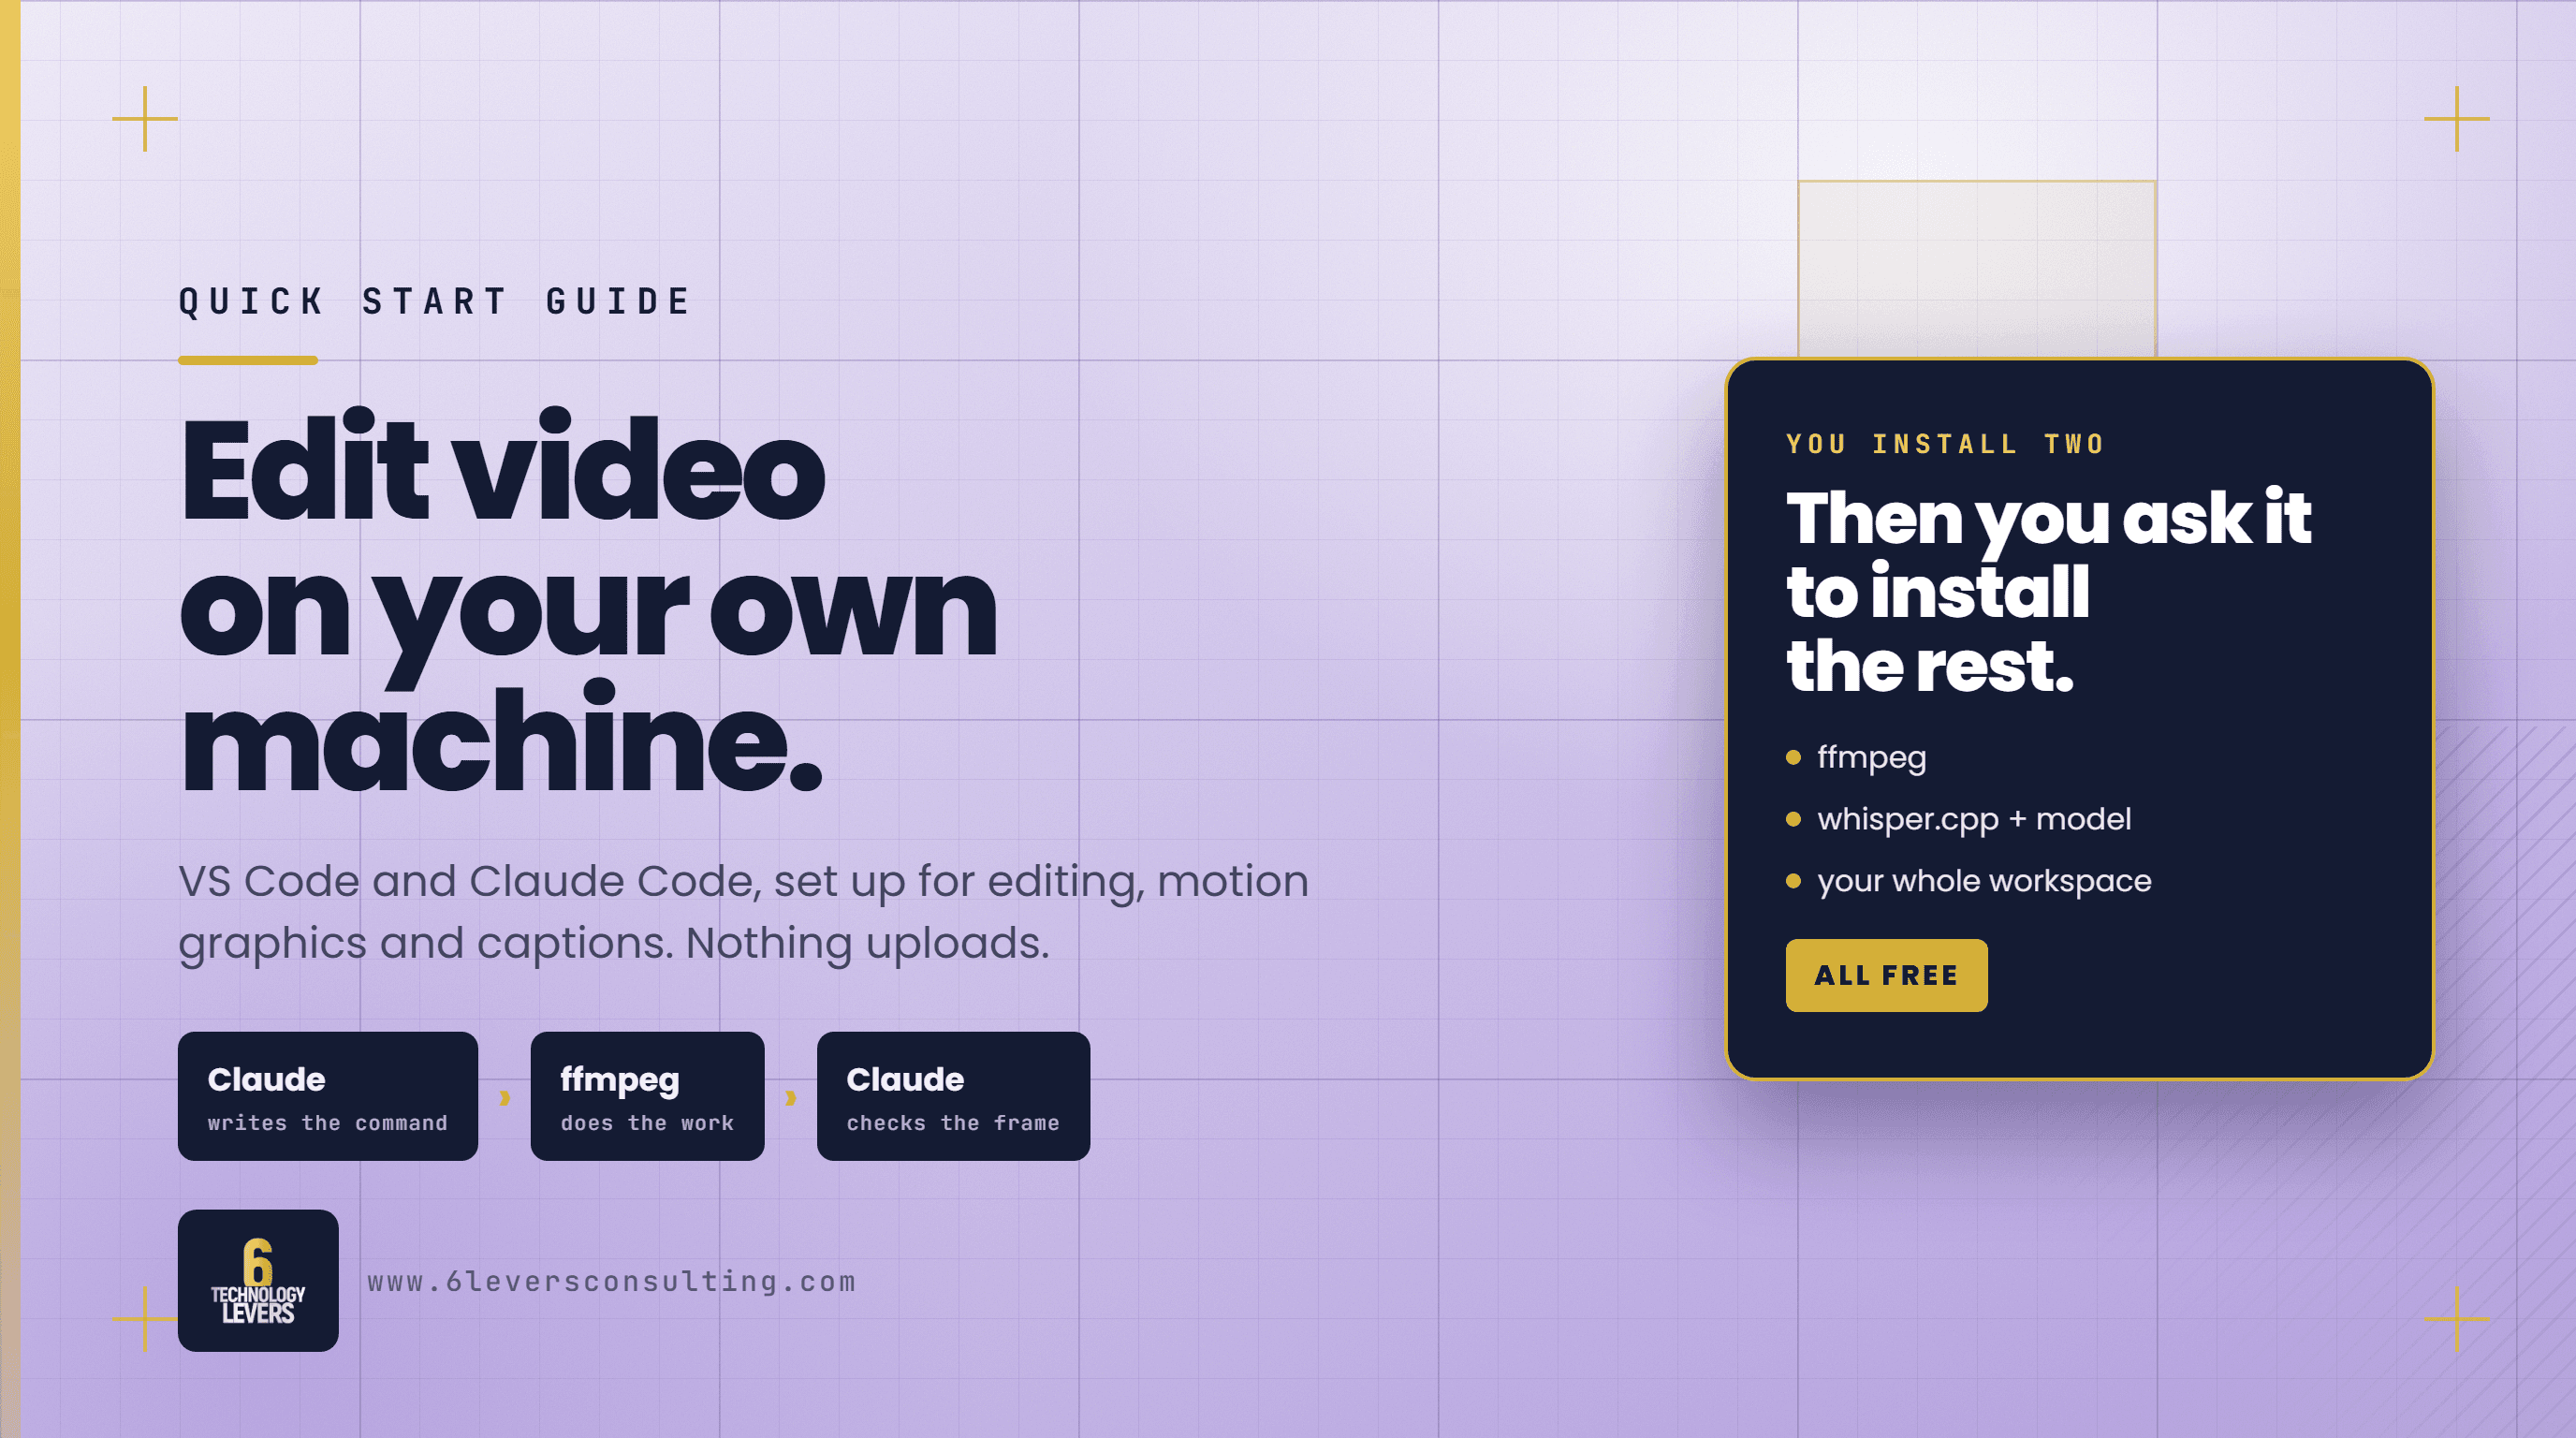
I edit my videos by typing a paragraph. No timeline, no subscription, and nothing uploaded anywhere. It all runs on my own laptop in VS Code, with Claude Code driving ffmpeg underneath.
People kept asking how it is set up, so here is the whole thing on three pages. There are only two things you have to install yourself, and they are both below.
Step one: download VS Code
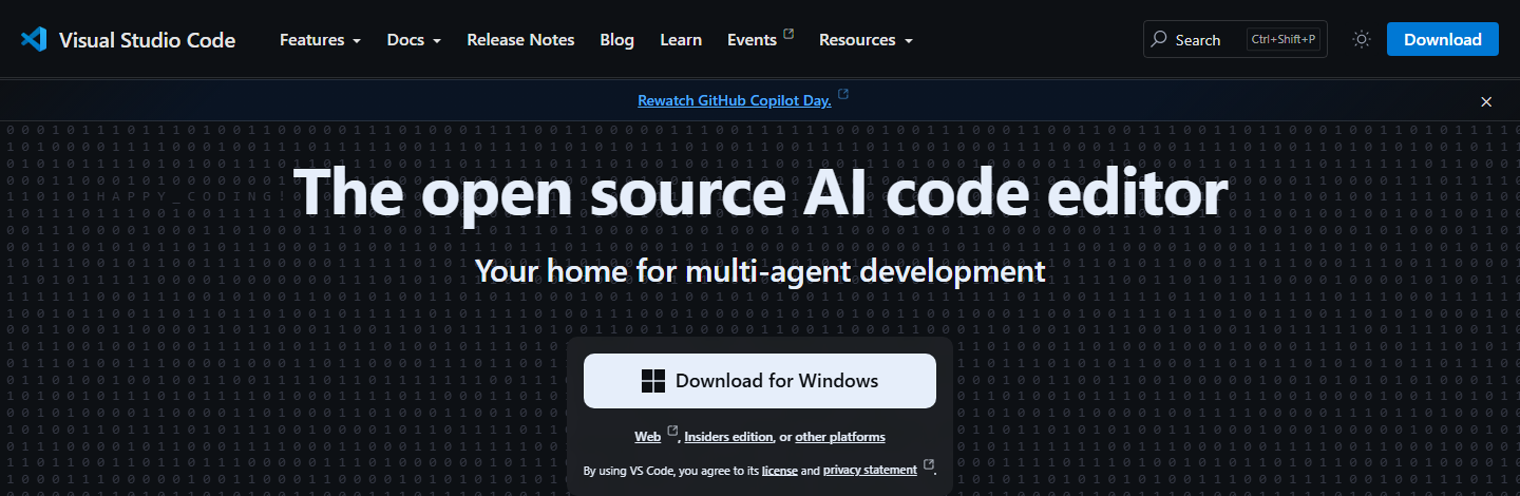
Go to code.visualstudio.com, press the big download button, and install it like any other program.
Step two: add Claude Code inside VS Code
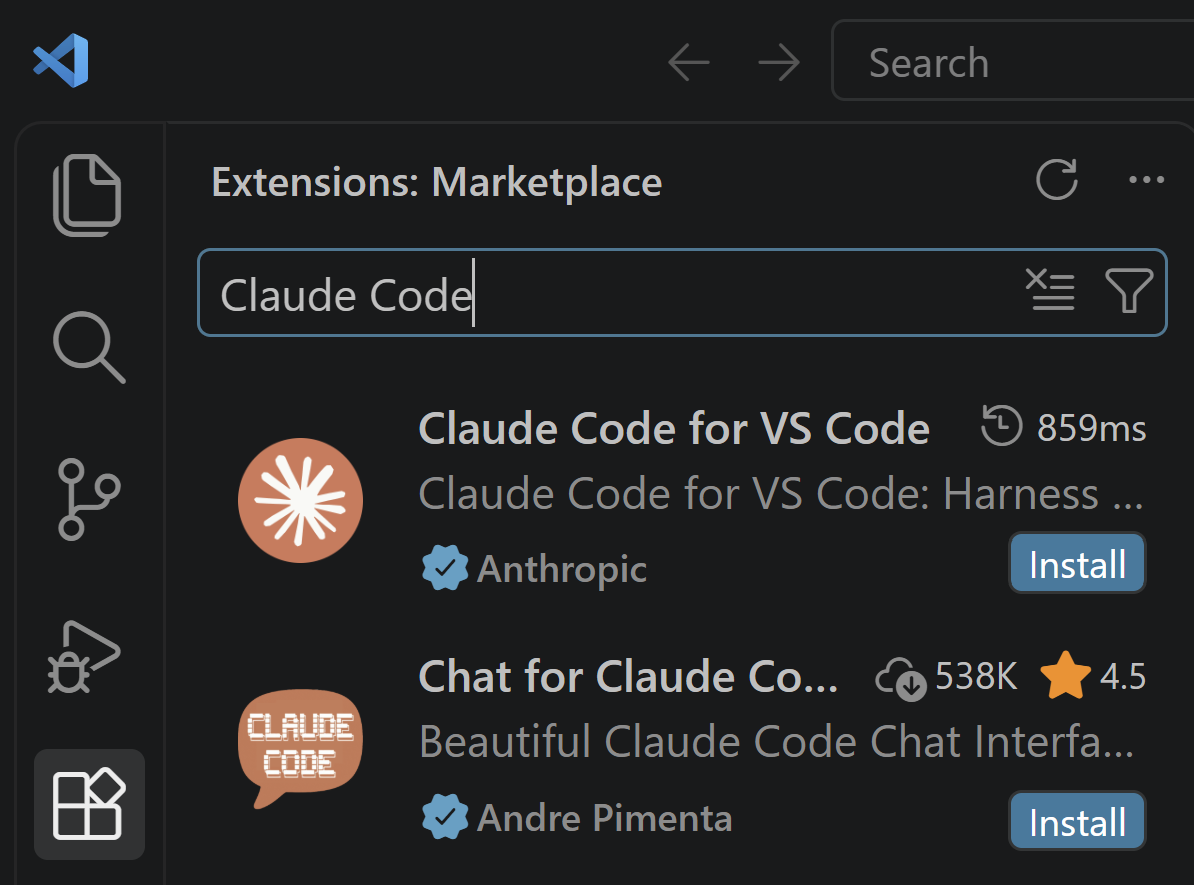
Open VS Code, click the Extensions icon in the left sidebar, and type Claude Code into the search box. Press Install on the first result, the one published by Anthropic. Sign in when it asks you to.
That is the hard part done. You can now skip straight to page 3 of the guide, paste in the one prompt there, and it will install everything else for you.
Get the guide
Download the quick start guide (PDF)
About twenty minutes end to end, and most of that is waiting on downloads. Everything except Claude Code is free.
See it working
Watch the two minute walkthrough
One raw clip and one paragraph of instructions. The titles, the callouts and the captions were all generated from what I said out loud, and it read my website to get the brand colours right.
Your first prompt
Once the setup is done, drop a raw clip into your inbox folder and paste this in. Fill in the three bracketed bits and change anything you like. This is close to what I use myself.
A new raw video just landed in [INPUT FOLDER / FILE NAME]. Turn it into a polished, highly engaging 9:16 (1080x1920) social video. Show off your 3D motion graphics, animation and editing skills.

EDIT
- Transcribe it first and review what I'm saying, so every edit and graphic is driven by my words.
- Cut any opening or closing section where I'm not speaking yet.
- Tighten long pauses and cut stumbles, repeated words and false starts. Make the cuts clean.
- Hide jump cuts with subtle punch-ins. Keep the full frame wherever graphics need the headroom above my head.
- If the footage isn't already vertical, reframe it to 9:16 around my face.

OPENING HOOK (first 5-10 seconds)
- Build a large, super engaging, 3D animated hook from my opening line.
- Use big extruded 3D text that follows my words beat by beat.
- Have the text sit behind my head (cut me out of the background) and fill the space above me.
- Add camera punch-ins, flashes, light rays, particle bursts and shakes timed to my key words.

MOTION GRAPHICS THROUGHOUT
- Wherever I make a point, list something, compare things or give a number, add a 3D or animated graphic that reinforces it. Examples: 3D cards, stamps, icons, progress bars, before/after flips.
- Keep all graphics above my head or in clear space. Never cover my face.
- Pick a consistent brand look: [BRAND COLORS / FONTS / LOGO].

OVERHEAD CALLOUTS
- Read what I'm saying and pick the moments that deserve a callout. Place each one above my head.
- Use at least two distinct styles:
  1. Modern 3D animated: a dimensional card that flies in, with depth, light and motion.
  2. Hand-drawn: sketchy marker strokes drawn on in real time, handwritten text, doodled arrows and underlines.
- If I name a specific callout style while speaking, show exactly that style at that moment.

CAPTIONS
- Add word-synced captions on my chest area, below my face. Highlight the spoken word.
- Use at least two caption styles. If I talk about captions, switch styles live at that moment so viewers see the difference.
- Fix obvious transcription errors in names, brands and product terms.

AUDIO
- Level-match my voice and keep it clear.
- Add a subtle music bed that ducks under my voice.
- Use sound effects sparingly and keep them well under my voice. No glitch, static or crackle effects.

ENDING
- End on an animated 3D call-to-action card: [CTA TEXT, e.g. follow / comment keyword / website].

PROCESS
- Snapshot key moments and check them before the final render. Look for graphics over my face, overlapping text, and anything cropped or unreadable.
- Then render the final MP4 and tell me where it is.
Stuck on the setup, or want help putting AI to work somewhere it actually matters? Book a free discovery call, or have a look around www.6leversconsulting.com.